Securing Your Veil So It Doesn't Fly Away
Veils tend to go hand in hand with the wedding industry because when else are you going to wear one realistically? If you’re not a veil person that’s ok too but fortunately for you there’s logistics you don’t need to worry about. However if veils are your jam there are a few steps to take to ensure that veil stays where it’s placed and does go with a gust of wind. While it may be a comical video it’s also a huge concern for many clients. Don’t worry - we have just what you need.
First let’s go way back to basics. Not all veil combs are created equal. Absolutely do NOT buy a plastic comb. Metal combs are far superior. No, we’re not being dramatic with such strong opinions. Why does it matter? Plastic combs can’t bend, flex, have pins go through them, tend to slip more and tend to be oversized. Metal combs are the opposite except they’re an average sized ( 1.5”-2” wide) not under. Now, if you already have a plastic comb , yes of course your artist can work wit it for most styles but it can also be switched out. We suggest going to a professional for this unless you’re an expert seamstress.
Ok, slightly further ahead than basics but not that much further you’ll want to put the veil in mirror the shape of the skull. You probably never thought you’d be dealing with anatomy for wedding day hair but here we are. There is the curve of the skull and there’s a curve on the comb. Those curves should match up in the same direction and essential “hug” each other. The comb should be placed in behind the pins and at or right below the parietal ridge of the skull. I know more anatomy! We’re not just full of shine spray and wax over here!
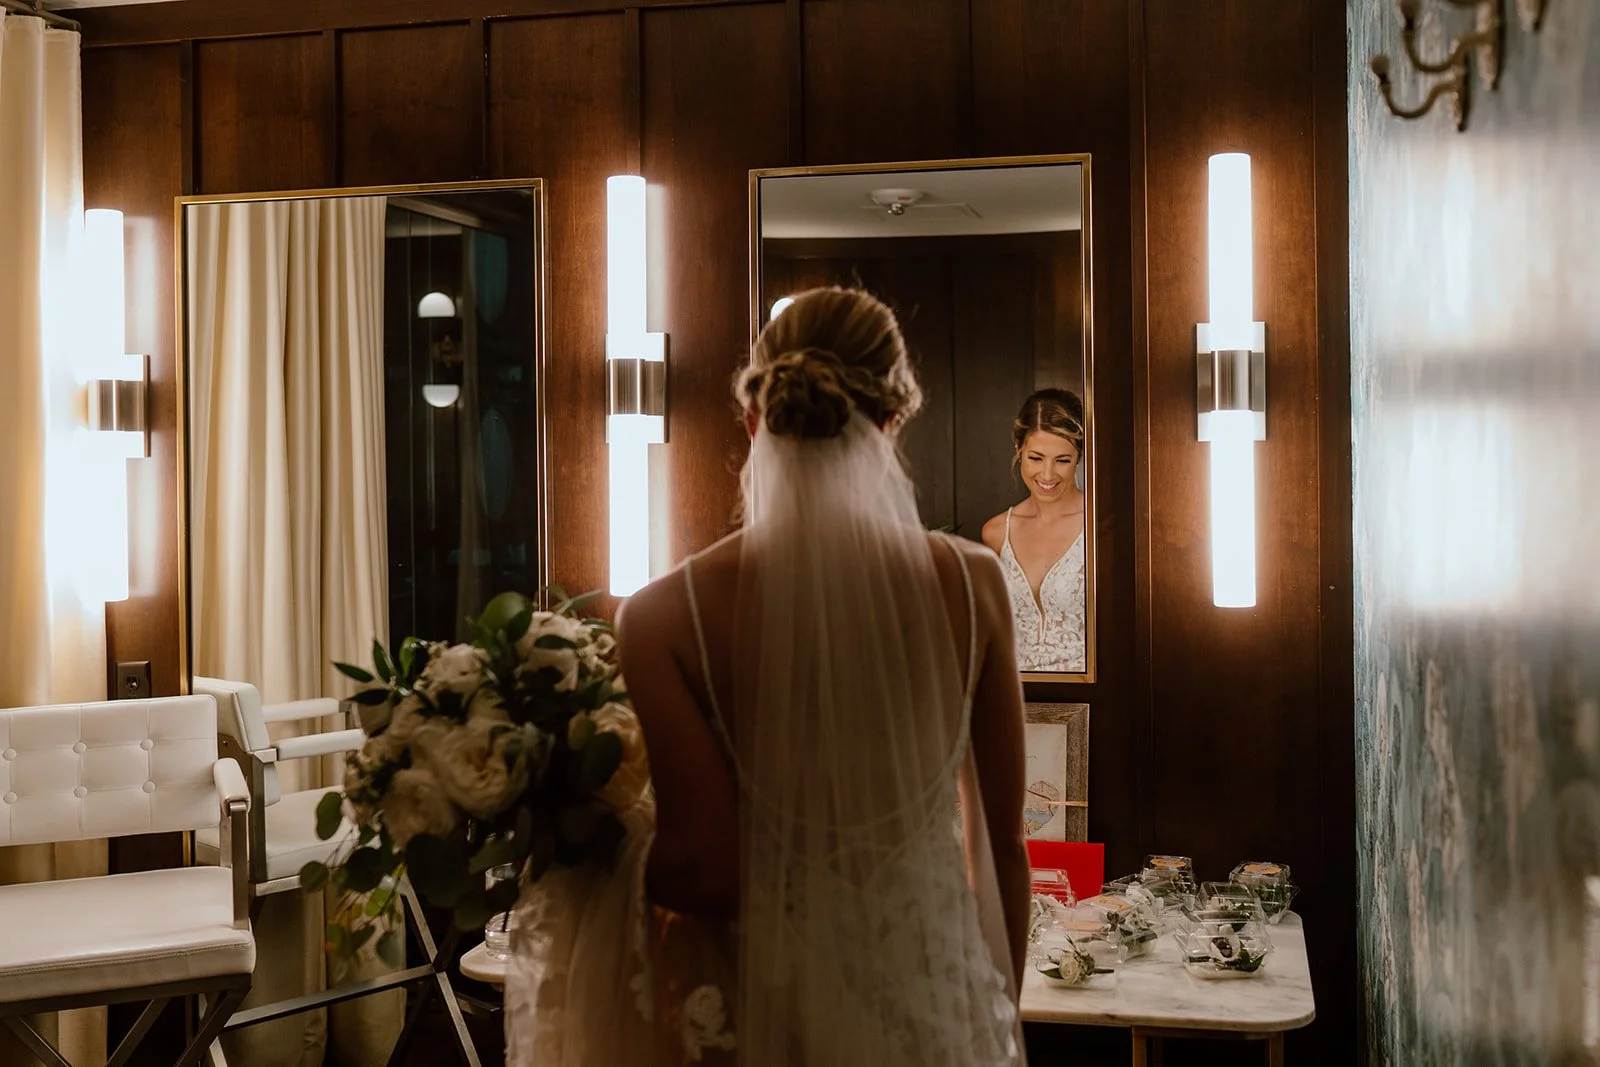
Photo by Krystell Caycedo Photography
To make this more secure you can attach a bobby pin from either side of the comb. You will loop a little hair with the pin and then into the comb and back into the hair behind the comb. Do from both sides and insert in at a slight diagonal down angle. Why? Gravity ! I swear we’re not Bill Nye with all this science but seriously let gravity help you vs fighting it. Still concerned about the veil staying ? You can add a second pin to each side. If you do so we recommend the second go in at a slight diagonal upward angle. I know we just were talking on and on about gravity so why are we now telling you to go up? Because it will lock in an “x” with the other pin. Locked “x” pins are the most secure.
If the hair is slippery or you’re worried especially if the hair is down you can add extra security with an hidden structure under the triangle of the crown of hair. The simplest technique is an elastic in the center close to the scalp. Then once the crown triangle hair is back down it will be hidden and you’ll be able to put in the veil behind the elastic. This way it has something to hold onto as it would with an updo.
The most secure way to create an under structure especially for down looks is a a hidden on scalp braid. In that same sectioning just below the crown triangle hair you will do an on scalp 3 strand braid ( yes, a cornrow) and elastic off the end. Then simply put the triangle crown hair down and place the veil in behind the braid.
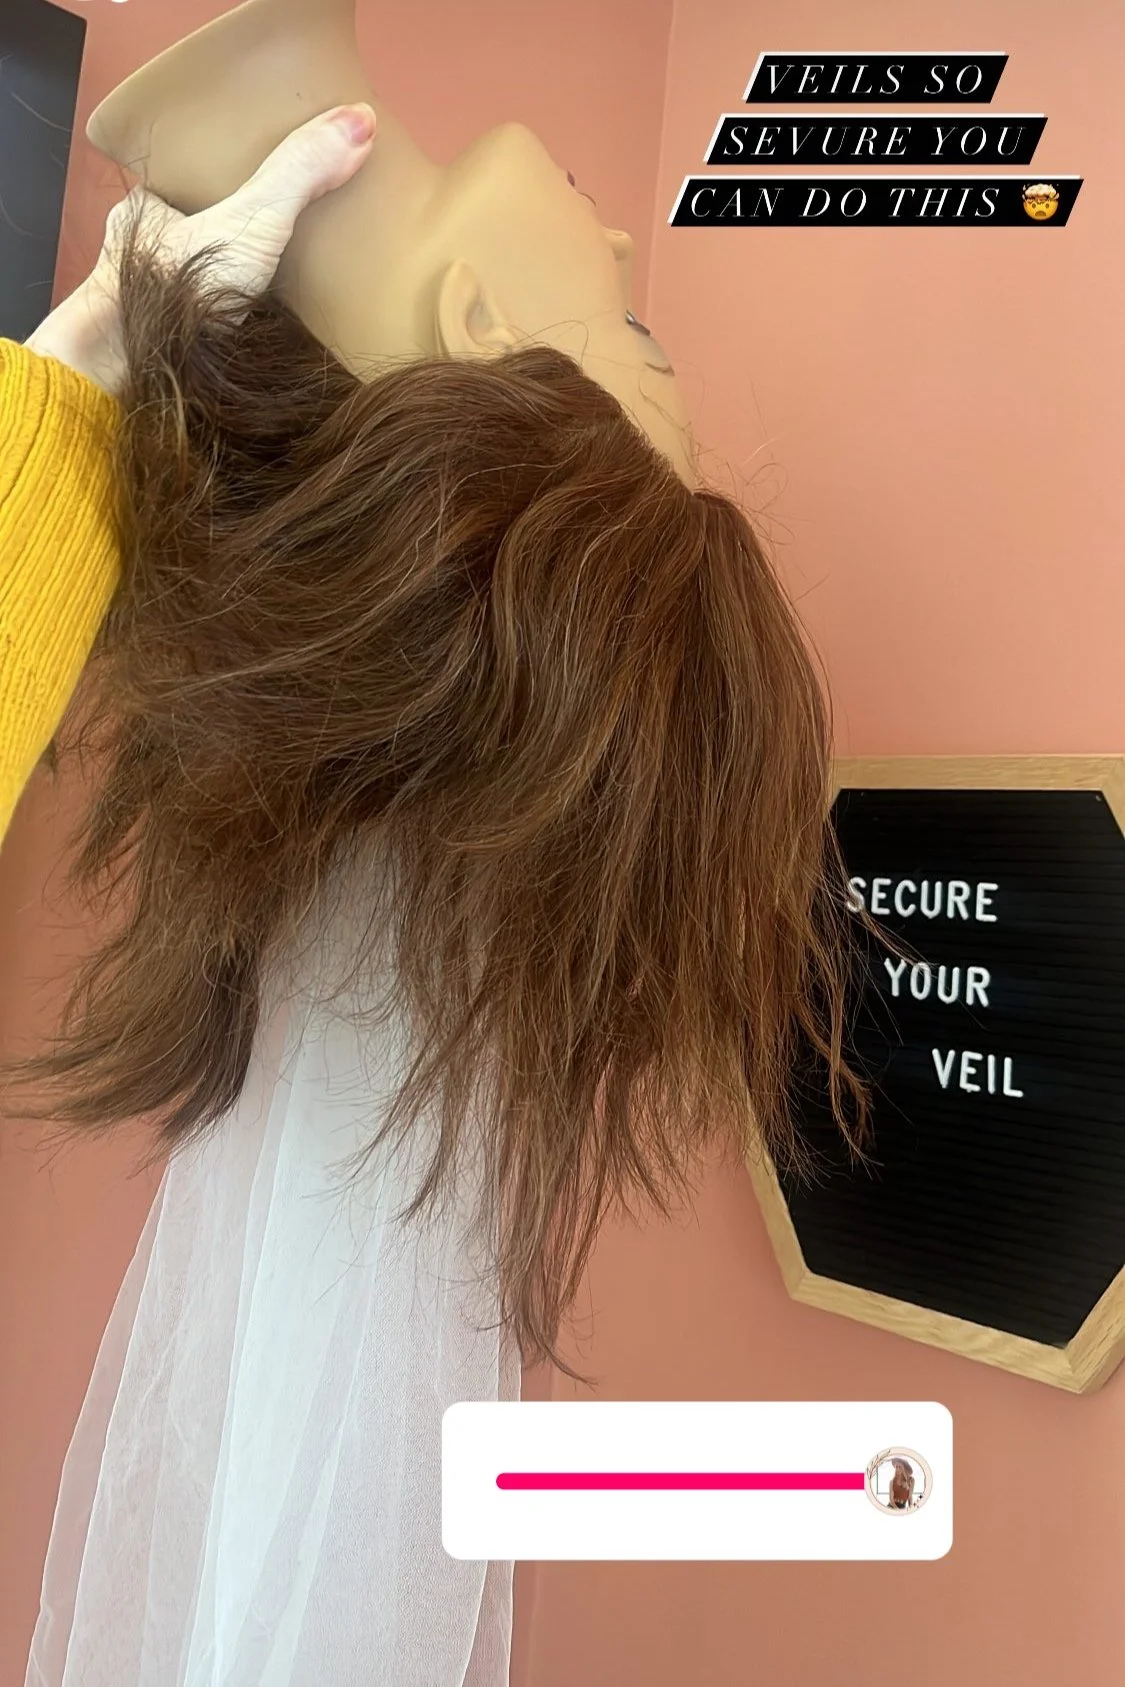
For extra, EXTRA security you can still additionally add the pins. This will make it so secure you could flip your head and veil upside down - LITERALLY. Needless to say no wind will take this away.
This has hidden broad and double pins for security.
So now that you have some more tricks, tools and logistics how do you feel? Are you prepared to tackle that veil at your next wedding? If this article has been helpful make sure to tag us when you put the skills to use and comment what you found most helpful below. As always make sure to demo putting in and taking out ( shimmy/dance it out) and let the client or helper know if there’s extra security like pins. Here’s also a IG live going through all of this if you’re more of a video person : https://www.instagram.com/tv/C1AgmKjRHTW/?igshid=MTc4MmM1YmI2Ng%3D%3D Happy veil placing !


